


Disclaimer: this article was originally published by Iron Armor Heavy Machinery Network
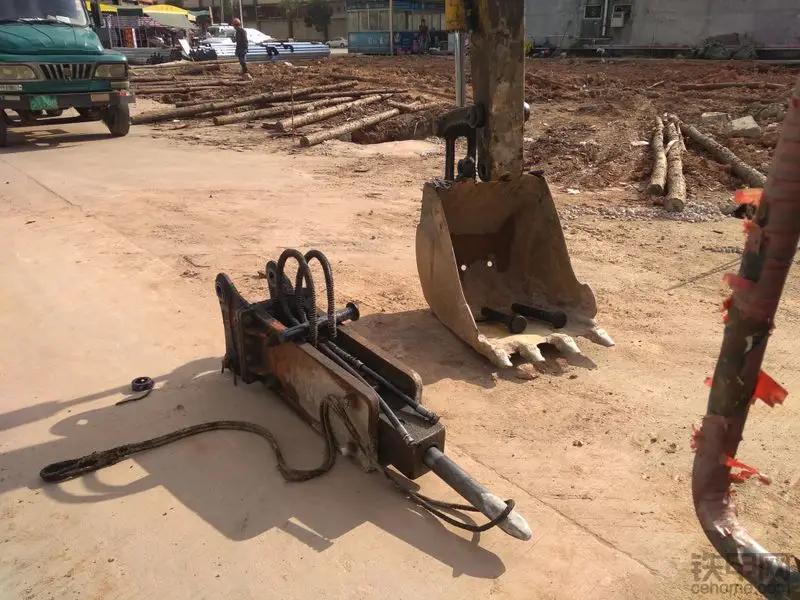
When it comes to changing breaker heads, I have my own method and some details many people may not pay attention to! Without further ado, let’s start with a picture and I will explain it step by step. The best place to change a breaker head is on a level concrete surface, not on loose soil. When you change the breaker head on loose ground, sometimes one side may end up higher than the other, making aligning the pins a nightmare! And because I use a straight breaker, if I were to change the head on a muddy surface, it would be easy to dirty the bottom pin with mud and dirt.

Let me share my experience with excavator accessories and changing breaker heads!
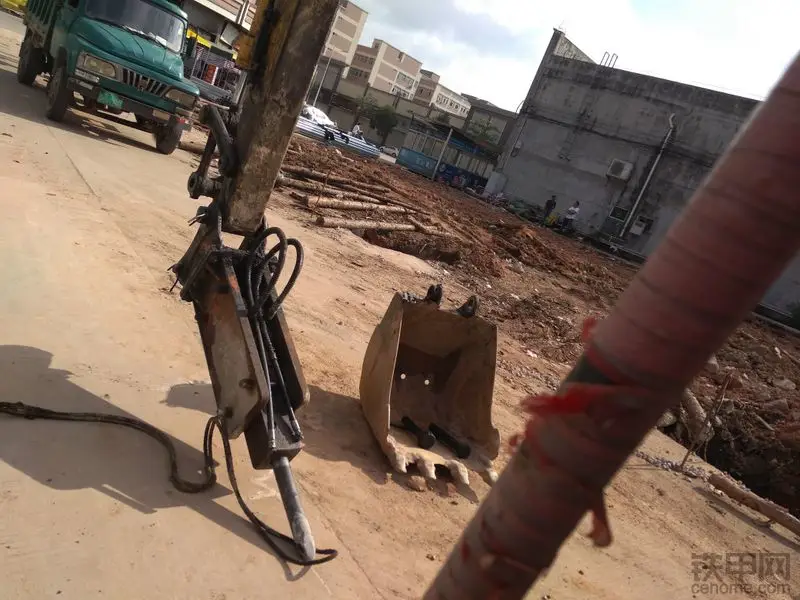
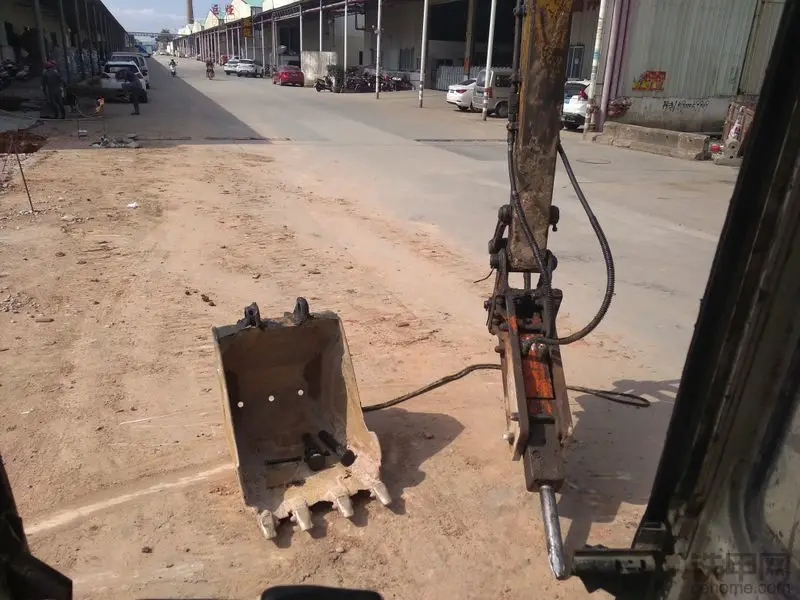
If you have no choice but to operate on soft ground without a cement surface, be sure to level the ground first. Position the excavator as evenly as possible to avoid the machine leaning to one side, making pin alignment much more manageable. For digging equipment like excavators, the best position for the breaker head is directly in front of the machine. You can use the bucket to check if the marl head aligns with the position of the breaker head!
Let me continue sharing my experience with excavator breaker head replacement!
In the past, I enjoyed changing the breaker head from a side position, which was at a ninety-degree angle to the excavator. Now, I no longer do that; instead, I work from directly in front.
Changing a breaker head in heavy machinery, I advise everyone to use disposable gloves, a pair of clean gloves, a must-have for changing breakers. I’ve tried using plastic rubber gloves, half-coated gloves, and even welding gloves. There was even a time when I changed them without gloves, but now I just use disposables! The advantage of these gloves is that they keep your hands clean. They avoid getting your hands dirty and can be used multiple times! However, because of the repeated use, the gloves’ surface gets oily, which is detrimental when changing hydraulic hoses. More details on this later!
For pavement construction machinery and the tools needed to change a breaker head, I use two 24mm open-end combination wrenches, one 27mm, and a 30mm double-ended box wrench. I previously used an adjustable wrench, but it was not very practical; the fixed wrenches are better. The 24mm open-end is for disassembling the bucket’s fixed pin screws and also for the oil tube switches of the breaker valve. The 27mm double-ended wrench is for removing the large screws on the breaker tubes.
When disassembling the bucket pins, place them on top of the fixed pin screws inside the bucket. This prevents the pins from getting dirty and makes them safer—otherwise, they might get covered by mud or trash! Once the bucket pin is removed, it’s time to prepare to install the new breaker head. Since the pins for my breaker head are fixed with rebar, the 24mm end of the combination wrench is used to turn this rebar!

Changing a breaker head on my Tai Chi 60 excavator has its advantages. Do you want to know why? It’s because I can stand in front of the machine and control the levers by hand without having to climb up. Ha-ha! This is something current excavators can envy! As my excavator’s arm drops, I make sure to place the breaker head close to the excavator to effectively avoid arm droop; there’s no further droop possible!
Sometimes, when it’s inconvenient to place the breaker head too close, when aligning the marl head to the pin, you must compensate for how I used to pre-aim when playing Counter-Strike, predicting the opponent’s movements. I wouldn’t aim directly at the person but slightly ahead of them. There’s a pattern to the excavator arm dropping, and we need to master it. Let the arm extend a bit further forward so when you go to change it, it droops right into place!
Here’s another key point—connecting the hydraulic hoses, crucial among excavator accessories! Dirt and grime inevitably accumulate at the connectors of the breaker head hydraulic hoses. If you do not clean properly before connecting the hoses, you’ll end up contaminating the hydraulic oil over time—this is why some people say changing breakers can easily contaminate the hydraulic oil. But I have my tricks for this!
When you remove the breaker tube screws, wipe the screw surface clean with the back of your glove. This is why I recommend disposable gloves—since they’re one-use and you’re using the back of the glove, you can ensure a clean wipe! As for rubber gloves and others reused, they will never be as clean. Some might say to use paper towels, but that’s not necessary when you’ve got gloves!
After cleaning, let some hydraulic oil flow out to flush the breaker tube screws, essentially preventing contamination. This is a critical step in the process of changing the breaker head! Once the hydraulic hoses are connected, turn on the switch, and you’re ready to hammer! The male and female screws that were detached are now combined and, along with the wrenches, placed back into the toolbox. They must be kept organized; these small parts are easily lost!
Once the job is done, swap back the bucket. Like before, everything properly. The breaker head should touch the ground at roughly a forty-five-degree angle to allow for easy pin removal and attachment. Separate and position the male and female screws for easy installation, turn off the switch, and start dismantling the hydraulic hoses, following the same cleaning process as when attaching them. Attach the respective male and female screws, then loop the hydraulic hoses for neat storage.
Now it’s time to remove the breaker head pins!
Let’s continue with my excavator breaker head replacement experience!
First, remove the linkage pins, retract the hydraulic cylinders, lower the boom. Thanks to the forty-five-degree position, the height for hose assembly is just right, and you can directly lower the arm after pin removal! Everything is set, the change is done, now pack up, and secure the breaker head. The breaker head should be placed on its side with the positioning pin facing up, preventing thieves from easily removing the pins. If you’re not planning to use it for a while, push the tool slightly in with the bucket for better protection, and then secure the breaker head with the bucket.
And that’s the process! Time to head home!
I’ll continue sharing my expertise and personal insights on changing excavator breaker heads!
There was a time I changed my head up to eight times a day, and the fastest switch took less than six minutes! The above are some of my experiences and personal views on changing breaker heads!
Keywords: